
Disable Microsoft Defender in Windows 11: Step-by-Step Guide
Last updated on September 5th, 2023 at 1:26 pm
Introduction
Since its introduction in 2006, Microsoft Defender has been integral to all Windows operating systems, offering free and thorough antivirus protection. It is capable of finding and containing malware and providing ongoing security. On the downside, it’s a resource-consuming and will only stop running in the background if permanently deactivated.
Methods to Permanently Turn Off Microsoft Defender in Windows 11
Here are the three effective methods to permanently disable Windows Defender if you no longer require its services. Learn how to deactivate this software.
Method 1: Permanently Turn Off Microsoft Defender in Windows 11 through Group Policy.
Using the Group Policy security tool, you can disable Defender. Follow these instructions:
Step 1: Navigate to Settings from the Start menu.

Step 2: Select Privacy & Security, then Windows Security and Virus & threat protection.
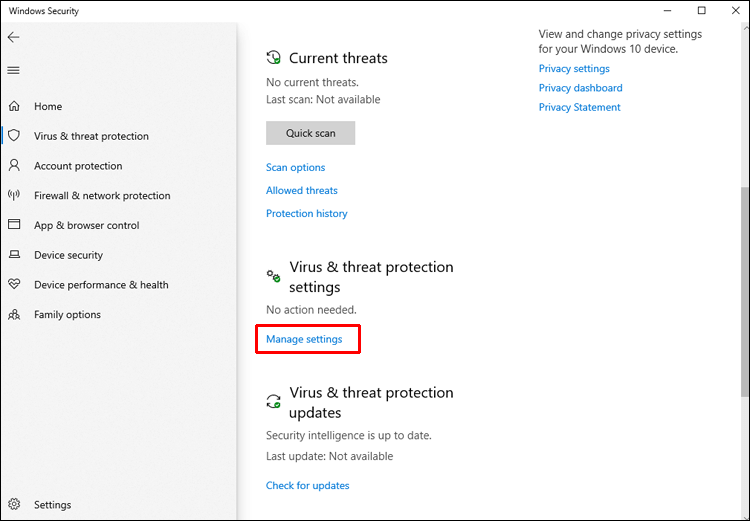
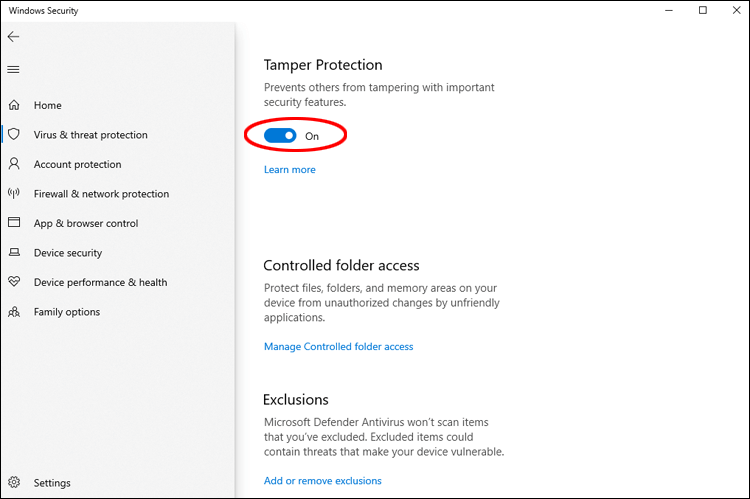
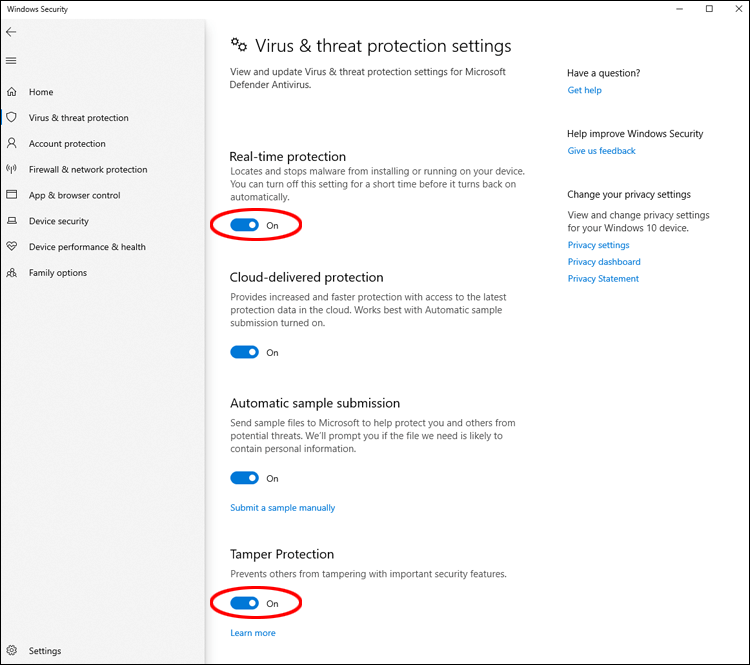
Step 3: Check Manage settings in the Virus & threat protection section, then turn off Tamper Protection by toggling the slider.
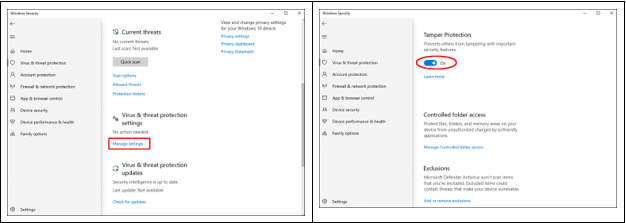
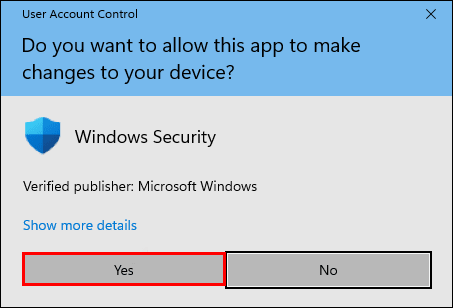
Step 4: To confirm making device changes, click Yes when prompted.
Step 5: A message will be shown in the Tamper Protection section affirming that your device might not be secure; close this window using the x in the top right corner.
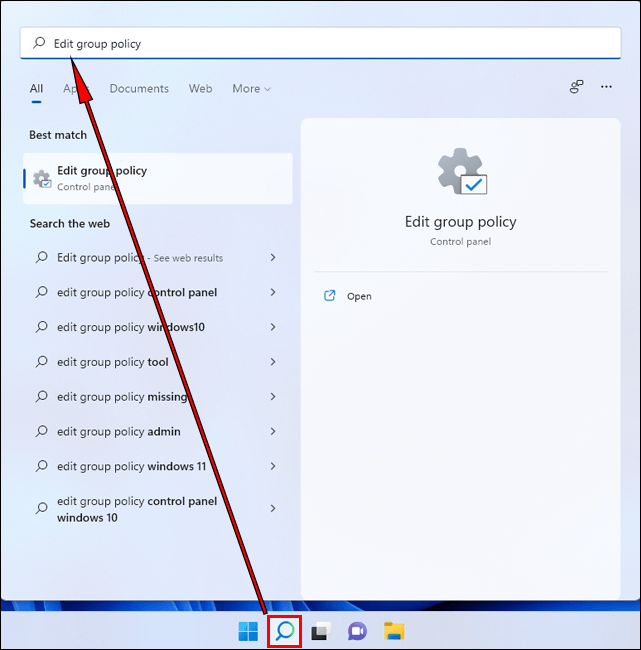
Step 6: Press the search icon on the taskbar to access the Microsoft Defender Antivirus settings.
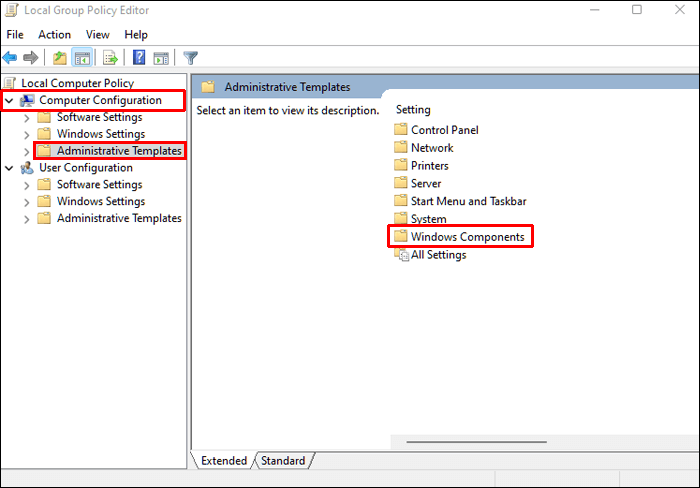
Step 7: Type ‘Edit Group Policy’ and click the result to launch the app. Open, select Computer Configuration from the left pane, followed by Administrative Templates and then Windows Components.
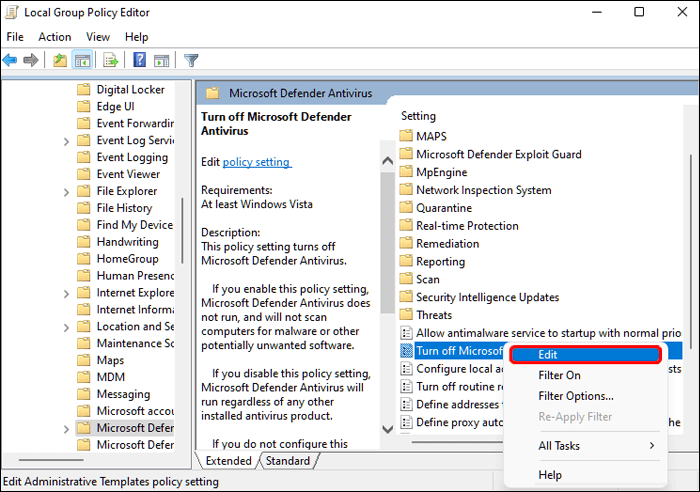
Step 8: Scroll down until you land on Microsoft Defender Antivirus, where several settings will be visible on the right pane.
Step 10: Right-click on ‘Turn off Microsoft Defender Antivirus’ and hit Edit to check the Enabled box before clicking Apply and OK.
Step 11: Then do the same for ‘Allow antimalware service to remain running always’, but instead choose Disabled this time round.
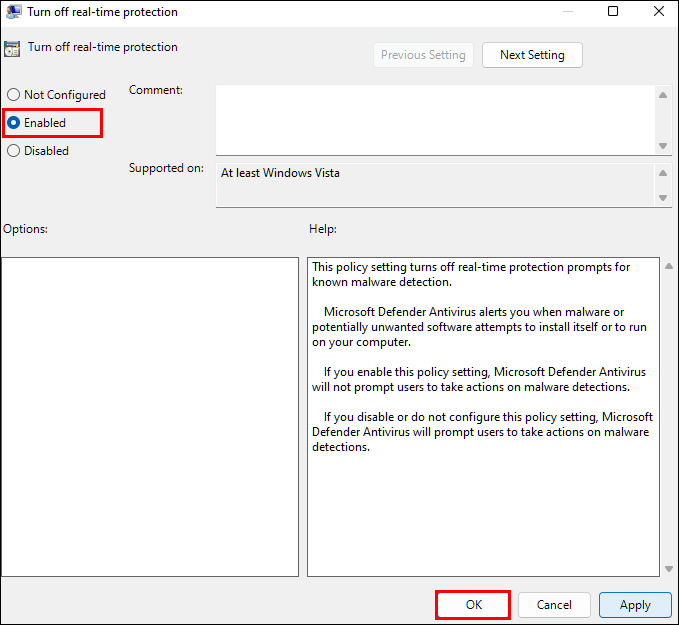
Step 12: Finally, enter the Real-time Protection folder and right-click ‘Turn off real-time protection’, editing it again to check Enabled.
Method 2: Permanently Turn Off Microsoft Defender by Modifying Registry
Similarly to Group Policy, you can deactivate Defender protection by modifying the registry. This method requires disabling the “Tamper Protection” setting to prevent Defender settings from being altered.
Step 1: The first step is to click Start, then Settings.
Step 2: Select Privacy & Security, Windows Security, then Virus & threat protection.
Step 3: Under Virus & threat protection settings, click Manage settings.
Step 4: Switch the slider to Off for the Tamper Protection option.
Step 5: To allow the changes, select Yes.
Step 6: To close the window, click the x in the top right corner.
Step 7: From the Windows Defender branch in the Registry Editor.
Step 8: Create three DWORD (32-bit) values. To do so, right-click any white space in the right pane, select New, then DWORD (32-bit) Value.
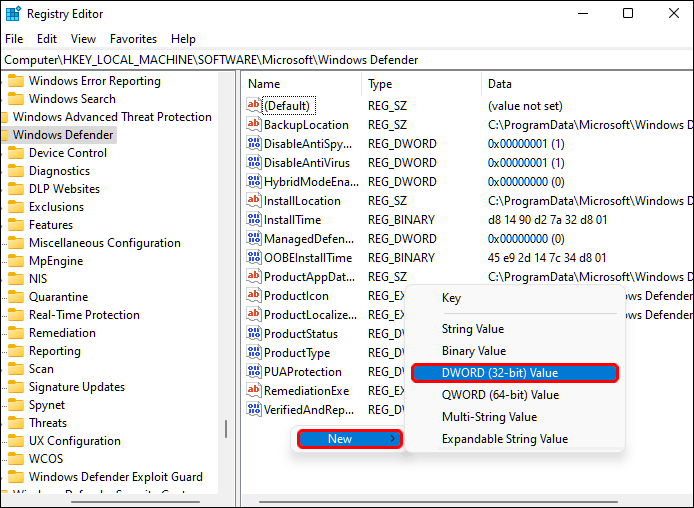
Here are the new values:
- Disable anti-virus software
- Turn off AntiSpyware
- StartStates of Services
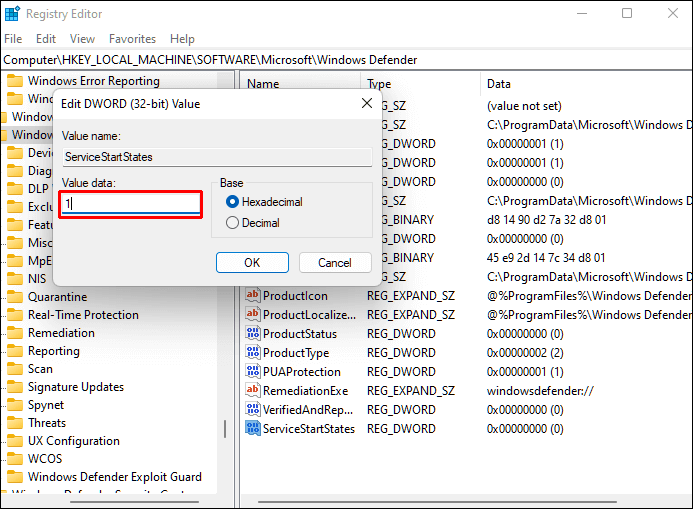
Step 9: Change the Value data field to 1 by right-clicking each value and selecting Modify.
Step 10: Close the Registry Editor and restart your computer.
Step 11: Windows Defender will be disabled once your computer restarts.
Method 3: Permanently Turn Off Microsoft Defender by using Autoruns
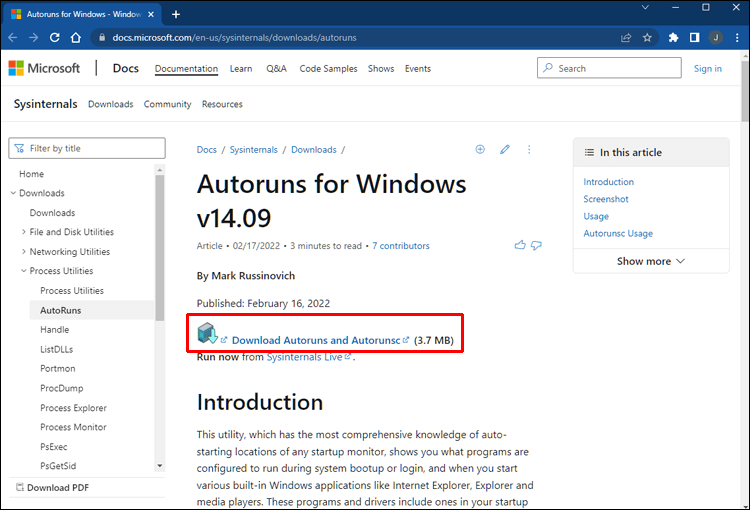
The Autoruns for Windows utility tool can also permanently disable Windows Defender.
Step 1: Install the updated version of Autoruns for your Windows.
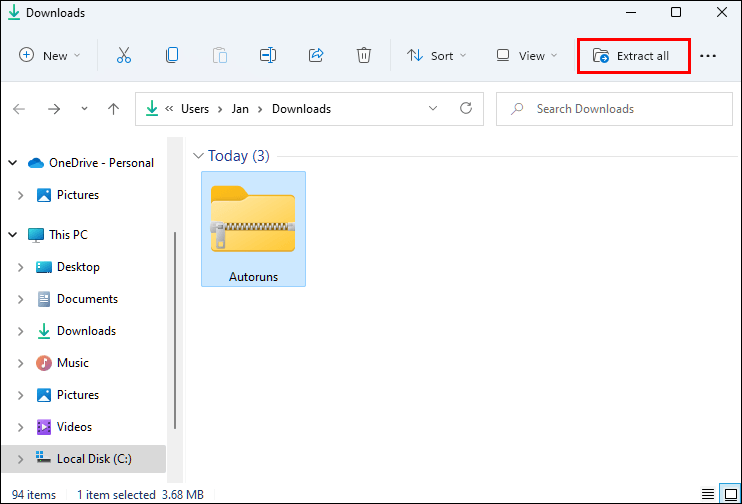
Step 2: Right-click the Autoruns folder in the downloaded file and select Extract All. Consider moving the folder to your desktop for easy access.
Now, you need to disable permanent protection and boot in safe mode.
Step 1: From the taskbar, select the Windows icon, then Settings.
Step 2: Then select Privacy & Security, Windows Security, and Virus & Threat Protection.
Step 3: Select Manage settings under Virus & threat protection.
Step 4: To deactivate Real-time Protection and Tamper Protection, press the sliders.
Step 5: To put your computer in Safe Mode, locate the System Configuration app using a search engine and open it.
Step 6: Select the Boot tab in System Configuration.
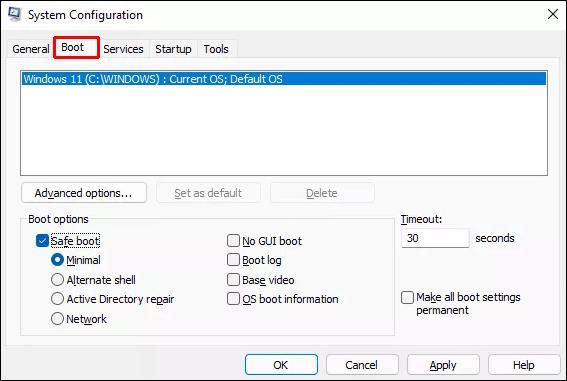
Step 7: The Minimal option will be automatically selected when the Safe boot box is checked under Boot options.
Step 8: Restart the computer after clicking Apply, OK, and Restart.
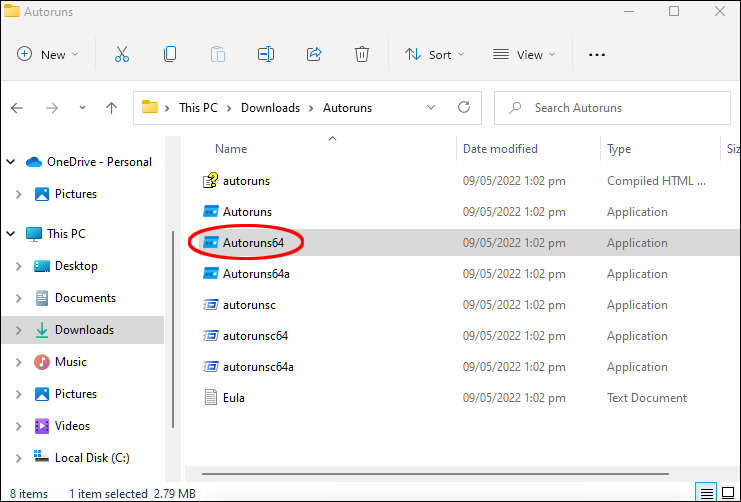
Step 9: To start it, open the Autoruns folder on your desktop, click the Autoruns64.ex file, and then click Run.
Step 10: The Autoruns License Agreement window will appear. Click agree button, if you agree with the terms.
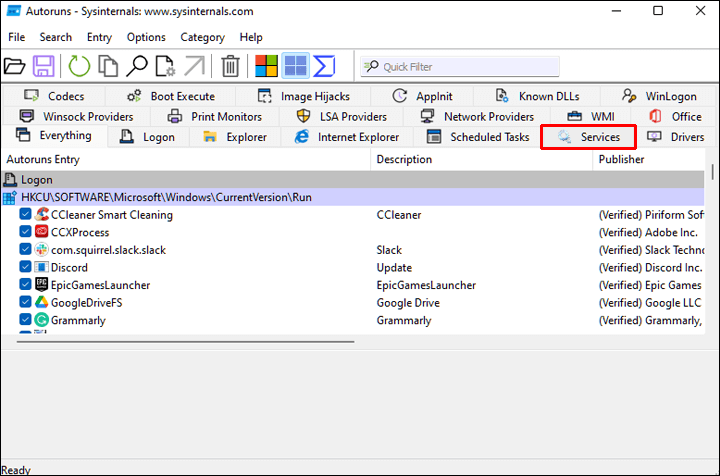
Step 11: Select the Services tab in the Autoruns window.
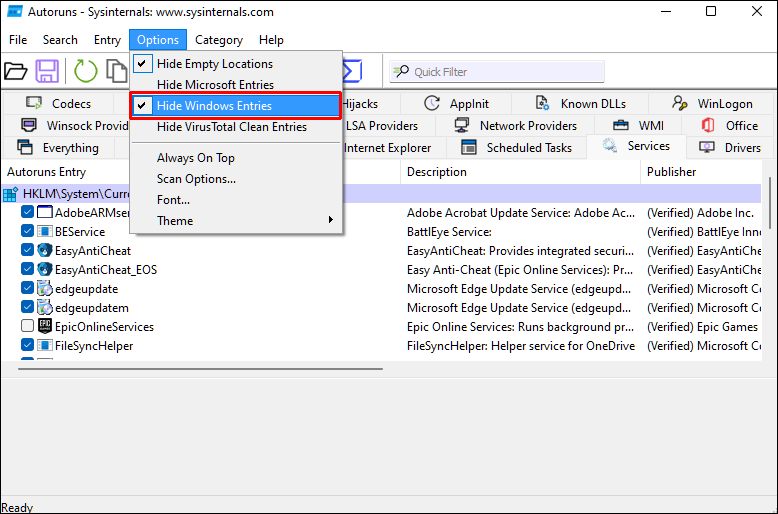
Step 12: Windows services are hidden by default. To make them visible, click on Options from the main menu, then uncheck Hide Windows Entries.
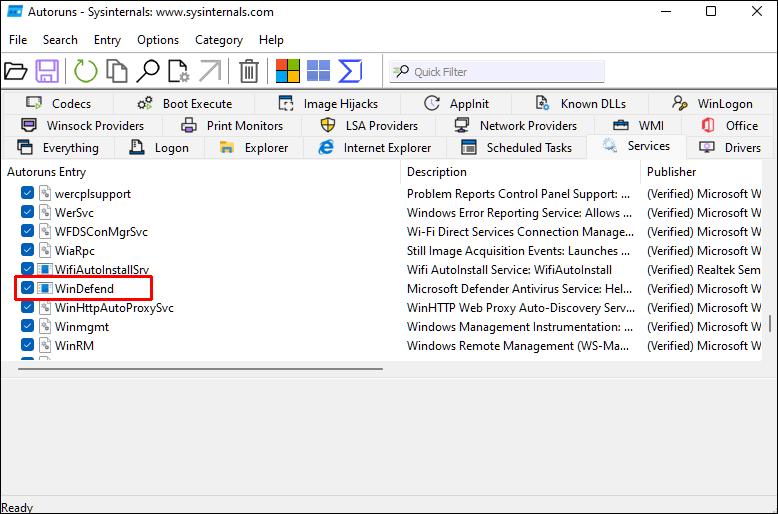
Step 13: If you uncheck the WinDefend box in the list of services for Windows Defender, Windows Defender will not be automatically launched each time the computer reboots.
Reboot your computer into normal mode after closing Autoruns as follows:
Step 1: Select System Configuration from the Search icon on the taskbar.
Step 2: Select the Normal startup option.
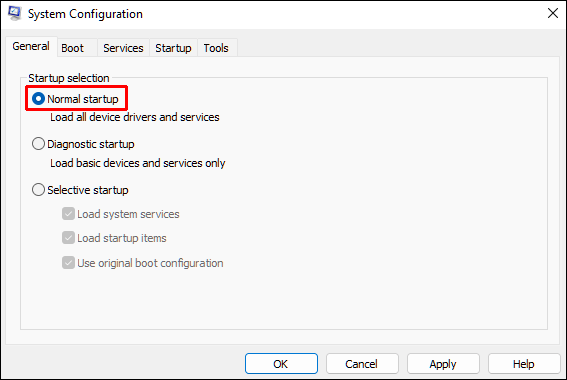
Step 3: Restart the computer after clicking Apply, OK, and Restart.
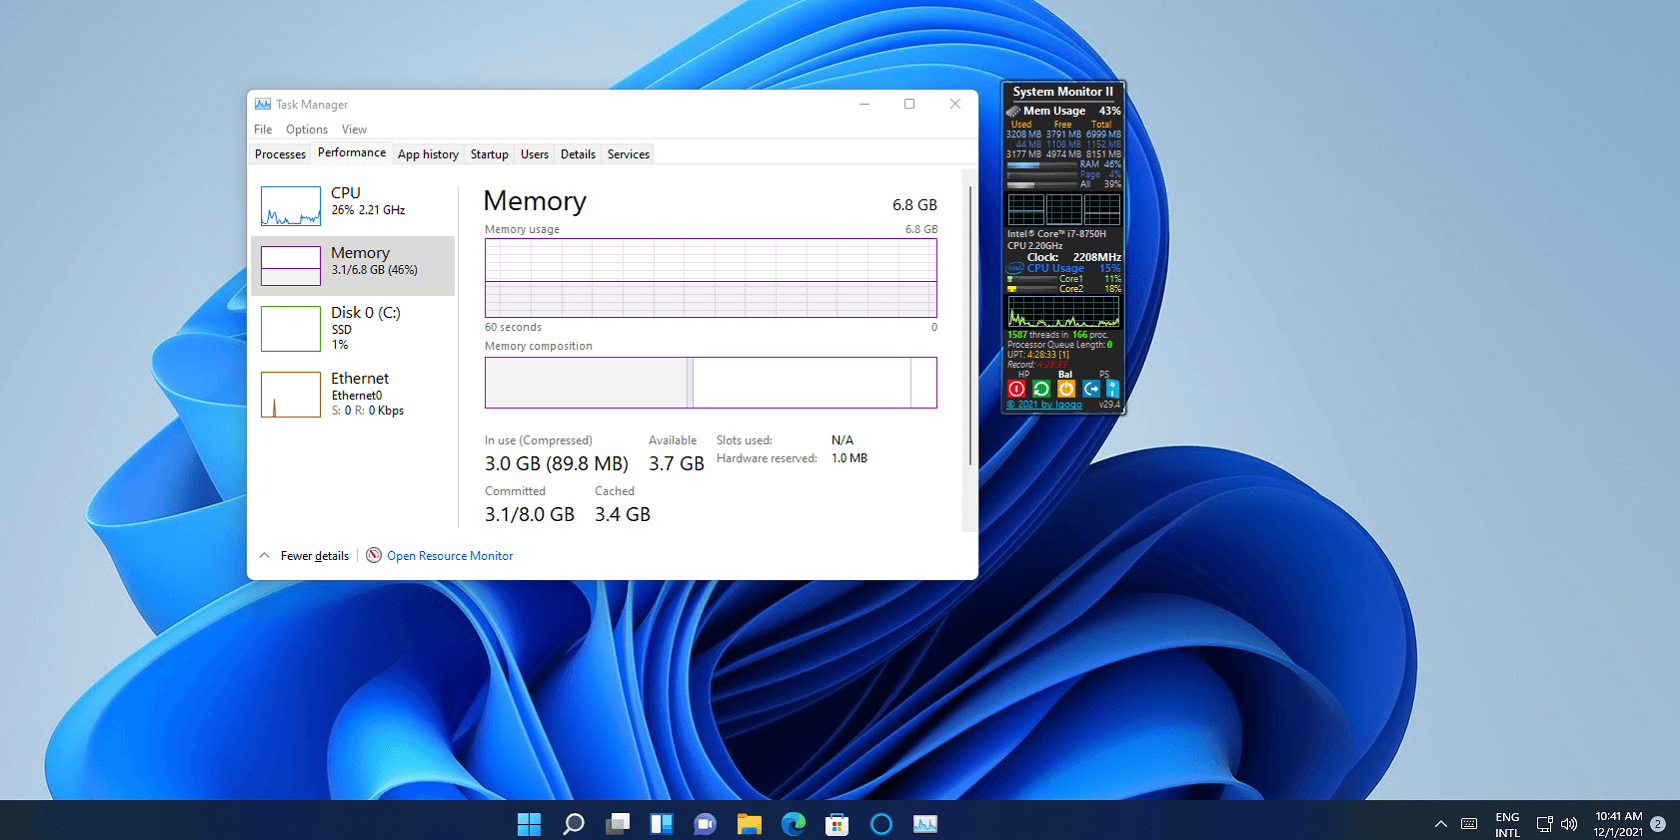
Start Task Manager and check if Windows Defender is running after your computer has rebooted:
Step 1: Go to Privacy & security, Windows Security, Virus & threat protection, then Home to see the Virus & threat protection status.
Step 2: Make sure that the Virus & Threat Protection status is set to Unknown.
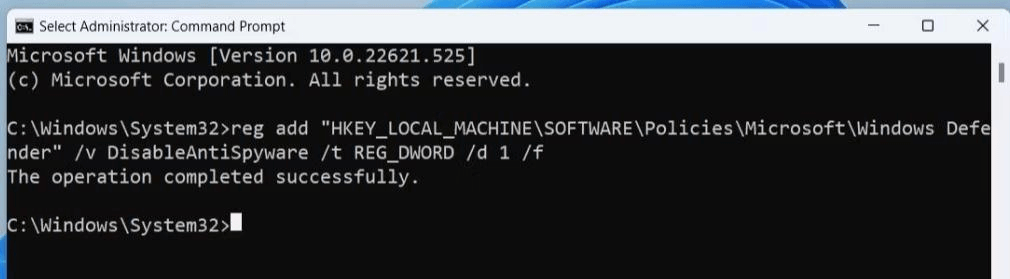
Method 4: Permanently Turn Off Microsoft Defender through Commond Prompt
To disable Microsoft Defender, you must paste a registry change instruction into the Command Prompt app. Here’s how:
Step 1: Press Win + R to open the Run command box.
Step 2: Click Ctrl + Shift + Enter to open Command Prompt with administrator permissions.
Step 3: Next, type the following instructions:
reg add “HKEY_LOCAL_MACHINE\SOFTWARE\Policies\Microsoft\Microsoft Defender” /v DisableAntiSpyware /t REG_DWORD /d 1 /f
Step 4: Upon successfully executing the before command, a notice will appear stating “The operation was successful.”.
Step 5: Type exit to dismiss the Command Prompt window.
Step 6: The sixth step is to reboot your computer.
Conclusion
By default, Windows Defender – a free antivirus software – is set to stay enabled even if it’s been turned off in Virus & threat protection. It may be hard to disable on your computer as Microsoft has installed fail-safe mechanisms.
Before you decide to deactivate it, turn off Tamper Protection. If you don’t want to use Defender, using another antivirus program is an excellent way to protect your PC from malware. To ensure that the Defender disabling is permanent, you can update the policy, modify the registry or disable it with the “Autoruns for Windows” utility tool. These three methods will ensure that Windows Defender will remain deactivated.
Author Bio:
Dinesh Lakhwani 

Dinesh Lakhwani, the entrepreneurial brain behind “TechCommuters,” achieved big things in the tech world. He started the company to make smart and user-friendly tech solutions. Thanks to his sharp thinking, focus on quality and the motto of never giving up, TechCommuters became a top player in the industry. His commitment to excellence has propelled the company to a leading position in the industry.
Popular Post


Recent Post

How To Get More Storage On PC Without Deleting Anything [2025]
Running out of space on your PC is frustrating. You might think deleting files is the only way. But that’s not true. There are many ways to get more storage without losing your important data. Learning how to get more storage on PC can save you time and stress. These methods work well and keep […]

How To Speed Up An Old Laptop [Windows 11/10]: Complte Guide
Is your old laptop running slowly? You’re not alone. Many people face this issue as their computers age. Learning how to speed up an old laptop is easier than you think. Over time, older laptops tend to slow down for a variety of reasons. Fortunately, with a few smart tweaks, you can significantly boost their […]

How To Reset Your PC For A Fresh Start In Windows 11/10 [2025]
Is your Windows computer lagging or behaving unpredictably? Are you constantly dealing with system errors, crashes, or sluggish performance? When troubleshooting doesn’t help, performing a full reset might be the most effective way to restore stability. Resetting your PC clears out all installed applications, personal files, and custom settings. It restores the system to its […]

How To Adjust Display Brightness Settings Easily in Windows [2025]
If your screen is overly bright or dim, it can strain your eyes and make tasks uncomfortable. Fortunately, Windows offers simple tools to fine-tune your display brightness. Despite how easy it is, many users aren’t aware of these quick fixes. Windows has many built-in tools to help you. You can change brightness with just a […]
How to Uninstall Problematic Windows Updates Easily [2025]
Learn how to uninstall problematic Windows updates easily. 5 proven methods to fix crashes, boot issues & performance problems. Simple step-by-step guide.

15 Most Essential Windows 11 Privacy And Security Settings [2025]
Learn 15 essential Windows 11 privacy and security settings to protect your data. Master computer privacy settings with simple steps to manage privacy settings effectively.
Rename Your Device For Better Security Windows [Windows 11 & 10]
Learn to rename your device for better security Windows 11 & 10. Simple steps to protect your computer from hackers. Improve privacy and security now.

How To Adjust Display Appearance Settings Easily in Windows 11/10
Learn to adjust display appearance settings easily Windows offers. Simple guide covers brightness, scaling, resolution & multi-monitor setup for better screen experience.

Supercharge Your Productivity: A Solopreneur’s and SMB’s Guide to Mastering Google Workspace with Gemini’
Picture this. It’s Monday morning. You open your laptop. Email notifications flood your screen. Your to-do list has 47 items. Three clients need proposals by Friday. Your spreadsheet crashed yesterday. The presentation for tomorrow’s meeting is half-finished. Sound familiar? Most small business owners live this reality. They jump between apps. They lose files. They spend […]

9 Quick Tips: How To Optimize Computer Performance
Learn how to optimize computer performance with simple steps. Clean hard drives, remove unused programs, and boost speed. No technical skills needed. Start today!