
How to Remove Bloatware from Windows 10 Easily

Last updated on August 10th, 2024 at 6:44 pm
Is your brand new laptop bloated with unwanted programs? Unfortunately, then, you are not the only one who is struggling with bloatware. That’s because Microsoft is no longer stronger on bloatware. However, the good thing is that you can remove bloatware in Windows 10 easily.
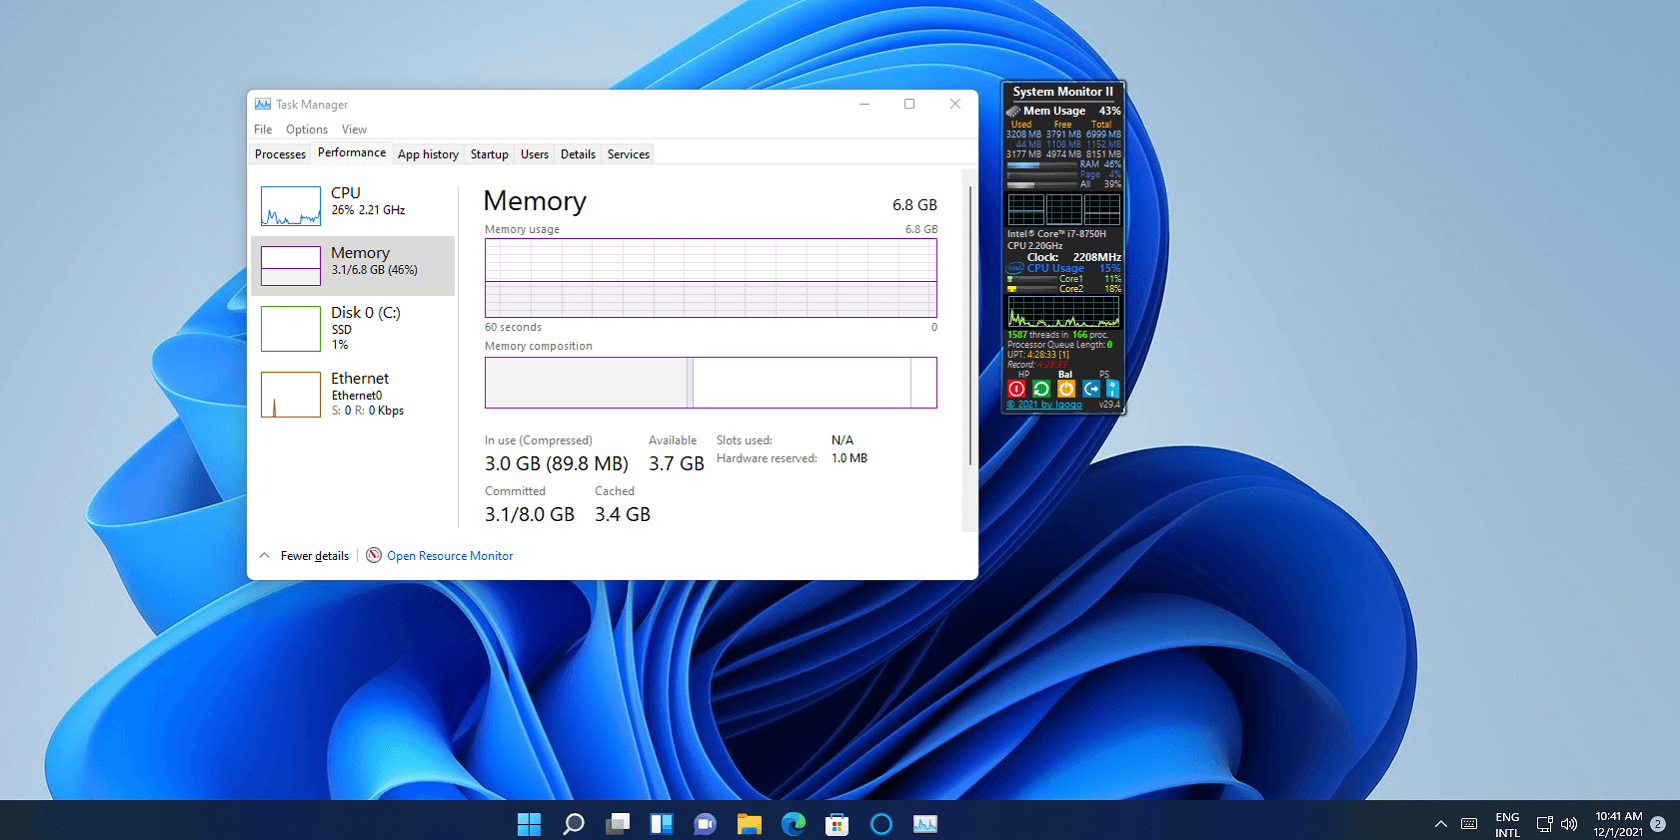
Today, a new Microsoft device is swamped with a series of unnecessary partnership applications that you might never use. The features like suggestions appearing on your Start Menu or programs running in the background all are bloatware that captures a huge space on your hard drive and slows down your system.
Luckily, there are many ways to debloat Windows 10 gadgets. And in this post, you will get to know all those easy tricks to remove bloatware from your system.
4 Ways to Remove Bloatware in Windows 10
Compared to previous Windows versions, Windows 10 is partnered with more sponsored programs that can increase bloatware in your laptop. On the top, bloatware doesn’t appear in the System > Apps & Features list. Therefore, it is essential for you to know how to debloat Windows 10 quickly, such as—
1. Remove Ads and Suggestions
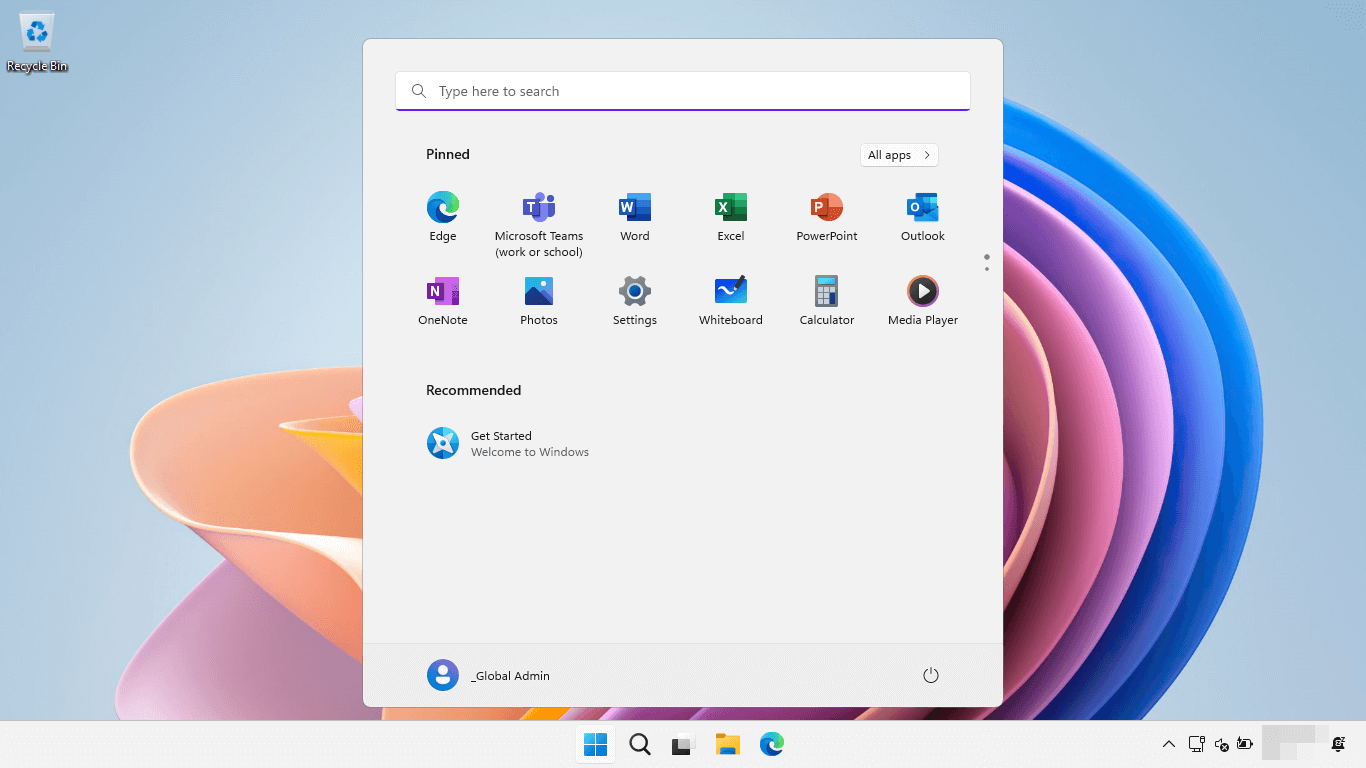
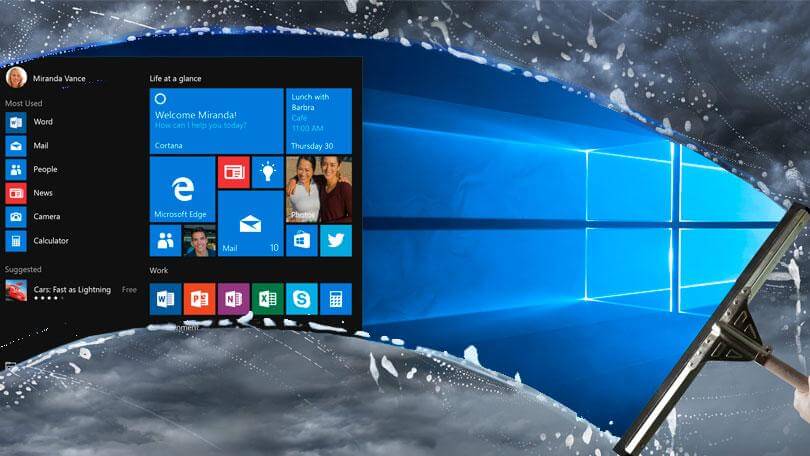
Do you want to remove certain brand’s ads or Start Menu suggestions? Then, you can have an option to block suggestions from Windows 10. To do so, go to the Start button, enter “suggestion,” and choose the “Show suggestions occasionally in Start” tab.
One more thing you can do is clean your Start Menu toolbar. Simply right-click on the program that you no longer need, and then click “Unpin from Start.” This will put a great relief on your system’s bloatware.
Also, if you are using an annoying Windows 8 tile Start Menu, immediately until it and easily locate the bloated applications.
2. Uninstall Bloated Applications
You can also use the simple uninstall approach to remove bloatware in your Windows 10. To uninstall bloated applications, you can follow these steps—
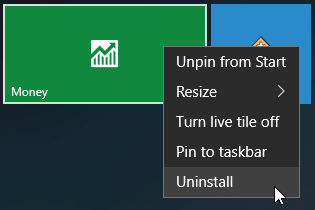
- Click on the Windows icon from the bottom-left corner.
- Next, navigate for the program that you want to remove and right-click on it.
- Finally, click on the Uninstall button and confirm it.
You can repeat the process until you remove all the unwanted bloated applications.
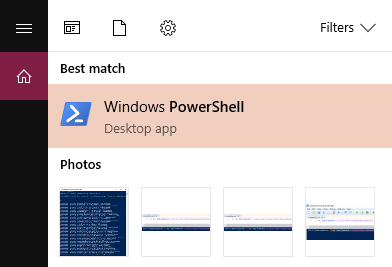
3. Use PowerShell
Here is the automatic method to debloat your Windows 10—PowerShell. Windows PowerShell is a user interface developed by Microsoft to automate tasks and configure management. There you have two options to remove bloatware using PowerShell, including—
Remove-AppxPackage
In this method, you can debloat your computer without removing applications from your system. Instead, you will simply hide the applications, and it won’t disturb you reappearing in Windows reinstalls.
Before you start PowerShell, make sure that no other programs are running on your computer. Now, follow these steps—
- Enter PowerShell in the search box located at the lower-left corner of the screen.
- Then, click on the “Run as Administrator” option.
- Click on “Yes” to confirm the process.
- Use the below-listed command with the application that you want to hide.
Get-AppxPackage *appName* | Remove-AppxPackage
- Just simply replace the ‘appName’ with the application you want to uninstall and then press Enter.
- Repeat the process until you uninstalled all the applications, such as—
Calculator
Get-AppxPackage *windowscalculator* | Remove-AppxPackage
Alarms & Clocks
Get-AppxPackage *windowsalarms* | Remove-AppxPackage
Camera
Get-AppxPackage *windowscamera* | Remove-AppxPackage
Get Office
Get-AppxPackage *officehub* | Remove-AppxPackage
Groove Music
Get-AppxPackage *zunemusic* | Remove-AppxPackage
Voice Recorder
Get-AppxPackage *soundrecorder* | Remove-AppxPackage
Weather
Get-AppxPackage *bingweather* | Remove-AppxPackage
Use DISM
The second way to completely destroy bloatware with PowerShell is using the DISM command. DISM stands for Deployment Imaging Service and Management. You can implement this command as follows—
- Put PowerShell in the search box located at the lower-left corner.
- Click on the “Run as Administrator” button.
- Press “Yes” to confirm the process.
- You can view the entire bloatware list using this command—
DISM /Online /Get-ProvisionedAppxPackages | select-string Packagename
- Navigate for the program that you want to delete from the system.
- Copy the Packagename for the app and the following command—
DISM /Online /Remove-ProvisionedAppxPackage /PackageName:PACKAGENAME
- Replace the Packagename word with the application name that you wanted to delete based on the earlier generated list. For example—
DISM /Online /Remove-ProvisionedAppxPackage /PackageName:Microsoft.Xbox.TCUI_1.24.10001.0_neutral_~_8wekyb3d8bbwe
- Keep on repeating the process until you have fully removed all bloated applications from your PC.
- Restart your computer to see the effect.
4. Use Third-party Bloatware Apps
If PowerShell is too complicated and traditional uninstallation is too simple for you, in that case, you can use third-party software to remove bloated applications. There are plenty of different bloatware removal apps available in the market, such as NoBloat, FreshStart, Windows 10 Debloater app, and many more.
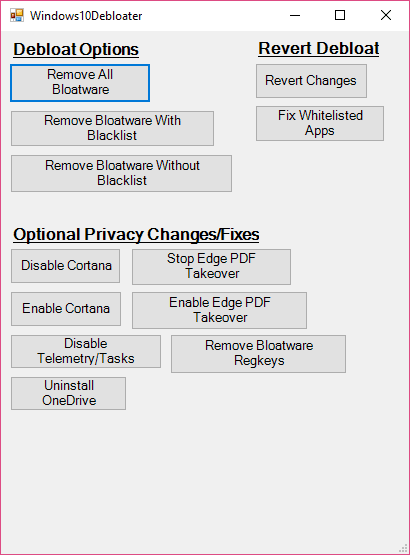
To use different applications, you have to follow the different steps depending upon the app. For example, if you are using the Debloater app to remove bloatware apps, you have to follow these steps—
- Navigate to the Windows 10 Debloater site.
- Click on the Clone or Download button.
- Click on the Zip download and then save the file to your computer.
- Now, click on the “Extract all” button to extract all files from the downloaded zip folder.
- Check the “Show extracted files when complete” box to quickly locate the files.
- Right-click on the Windows10DebloaterGUI and choose “Run with PowerShell.”
- Click open, type Y, and press Enter.
- Windows 10 Debloater will appear on your screen.
- Click on the “Remove All Bloatware” button.
- That’s it will immediately remove all bloated applications from your computer system.
So there you go! You now know how to remove bloatware from your Windows 10 computer on time. Whenever your new PC slows down, don’t forget to run a bloatware cleaning and free up sufficient space on your hard drive.
If you have any more questions, you can share them in the comments. And don’t forget to like and share this post with your friends!
Author Bio:
Dinesh Lakhwani 

Dinesh Lakhwani, the entrepreneurial brain behind “TechCommuters,” achieved big things in the tech world. He started the company to make smart and user-friendly tech solutions. Thanks to his sharp thinking, focus on quality and the motto of never giving up, TechCommuters became a top player in the industry. His commitment to excellence has propelled the company to a leading position in the industry.
Popular Post


Recent Post
How To Get More Storage On PC Without Deleting Anything [2025]
Running out of space on your PC is frustrating. You might think deleting files is the only way. But that’s not true. There are many ways to get more storage without losing your important data. Learning how to get more storage on PC can save you time and stress. These methods work well and keep […]

How To Speed Up An Old Laptop [Windows 11/10]: Complte Guide
Is your old laptop running slowly? You’re not alone. Many people face this issue as their computers age. Learning how to speed up an old laptop is easier than you think. Over time, older laptops tend to slow down for a variety of reasons. Fortunately, with a few smart tweaks, you can significantly boost their […]
How To Reset Your PC For A Fresh Start In Windows 11/10 [2025]
Is your Windows computer lagging or behaving unpredictably? Are you constantly dealing with system errors, crashes, or sluggish performance? When troubleshooting doesn’t help, performing a full reset might be the most effective way to restore stability. Resetting your PC clears out all installed applications, personal files, and custom settings. It restores the system to its […]

How To Adjust Display Brightness Settings Easily in Windows [2025]
If your screen is overly bright or dim, it can strain your eyes and make tasks uncomfortable. Fortunately, Windows offers simple tools to fine-tune your display brightness. Despite how easy it is, many users aren’t aware of these quick fixes. Windows has many built-in tools to help you. You can change brightness with just a […]
How to Uninstall Problematic Windows Updates Easily [2025]
Learn how to uninstall problematic Windows updates easily. 5 proven methods to fix crashes, boot issues & performance problems. Simple step-by-step guide.

15 Most Essential Windows 11 Privacy And Security Settings [2025]
Learn 15 essential Windows 11 privacy and security settings to protect your data. Master computer privacy settings with simple steps to manage privacy settings effectively.
Rename Your Device For Better Security Windows [Windows 11 & 10]
Learn to rename your device for better security Windows 11 & 10. Simple steps to protect your computer from hackers. Improve privacy and security now.

How To Adjust Display Appearance Settings Easily in Windows 11/10
Learn to adjust display appearance settings easily Windows offers. Simple guide covers brightness, scaling, resolution & multi-monitor setup for better screen experience.

Supercharge Your Productivity: A Solopreneur’s and SMB’s Guide to Mastering Google Workspace with Gemini’
Picture this. It’s Monday morning. You open your laptop. Email notifications flood your screen. Your to-do list has 47 items. Three clients need proposals by Friday. Your spreadsheet crashed yesterday. The presentation for tomorrow’s meeting is half-finished. Sound familiar? Most small business owners live this reality. They jump between apps. They lose files. They spend […]

9 Quick Tips: How To Optimize Computer Performance
Learn how to optimize computer performance with simple steps. Clean hard drives, remove unused programs, and boost speed. No technical skills needed. Start today!